
2D Strategy Game (1): Start
In this new series, I want to create a turn-based strategy game with 2D graphics. I use Pygame for the user interface, and as usual, we see many patterns to ease the development and maintenance of the game.
If you are new to programming or pattern design, you can first read the Discover Python and Patterns series.
This post is part of the 2D Strategy Game series
A medieval strategy game
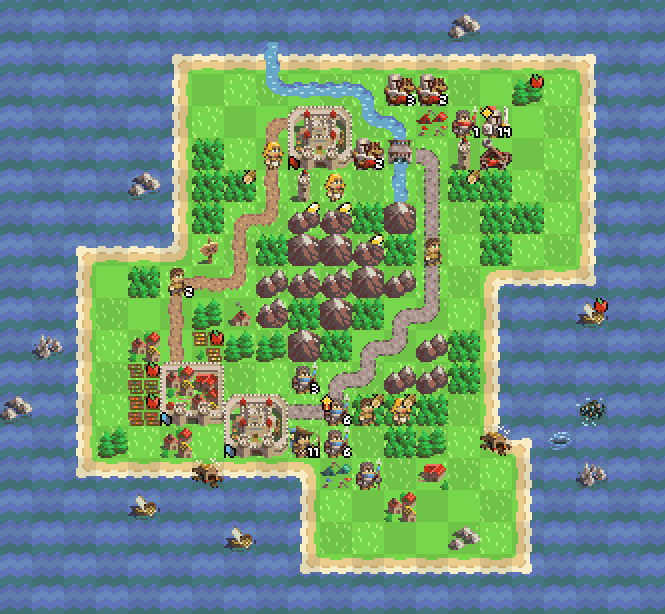
The game is about taking over the world in the middle ages with castles and soldiers. It uses the tiles in the Toen's Medieval Strategy Sprite Pack.
It should look like that:

Anaconda and Pycharm
Installation
Concerning the development environment, we use Anaconda with Python 3. If you haven't already installed it, you can download it here.
On the contrary to the Discover Python and Patterns series, I suggest using Pycharm instead of Spyder. Spyder is perfect for beginners but has few tools for refactoring. Pycharm is a bit more complex but has very nice features that save a lot of time. You can download Pycharm here.
In the following setup, we use a Conda environment in Pycharm, which is the most popular environment manager today.
Create a new project
When you run Pycharm for the first time, after the credits, you should see this window:
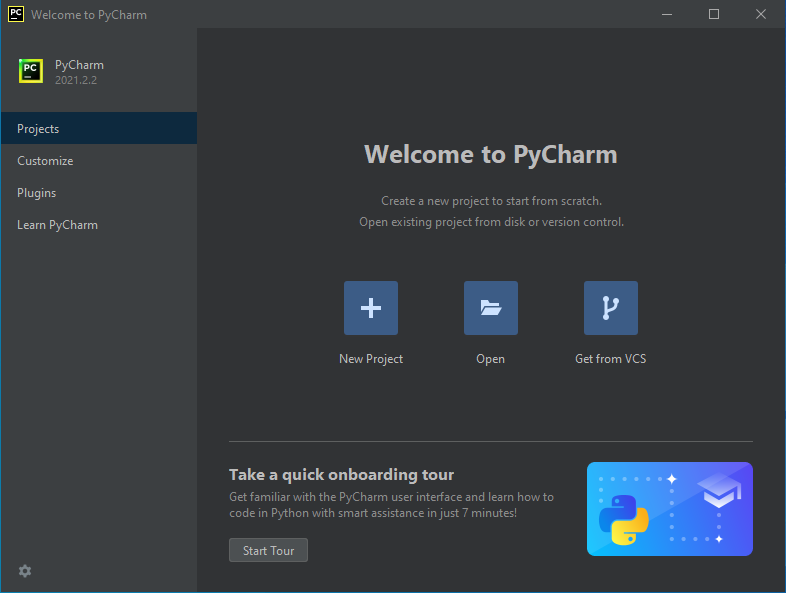
Click the New Project button. It shows the following dialog:
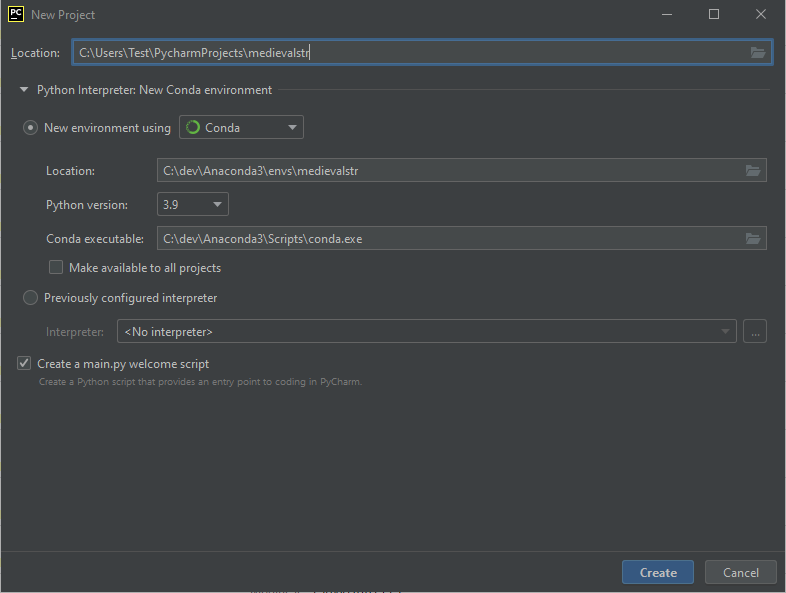
In the Location field, choose the directory where you want to store your game.
Select New environment using Conda. The Location below should have the same env name that your game - you can change it if you want.
In the Conda executable field, type or choose the path of the conda.exe file. It is in the "Scripts" folder of the Anaconda installation directory. In this example, we installed Anaconda in "C:\dev\Anaconda3".
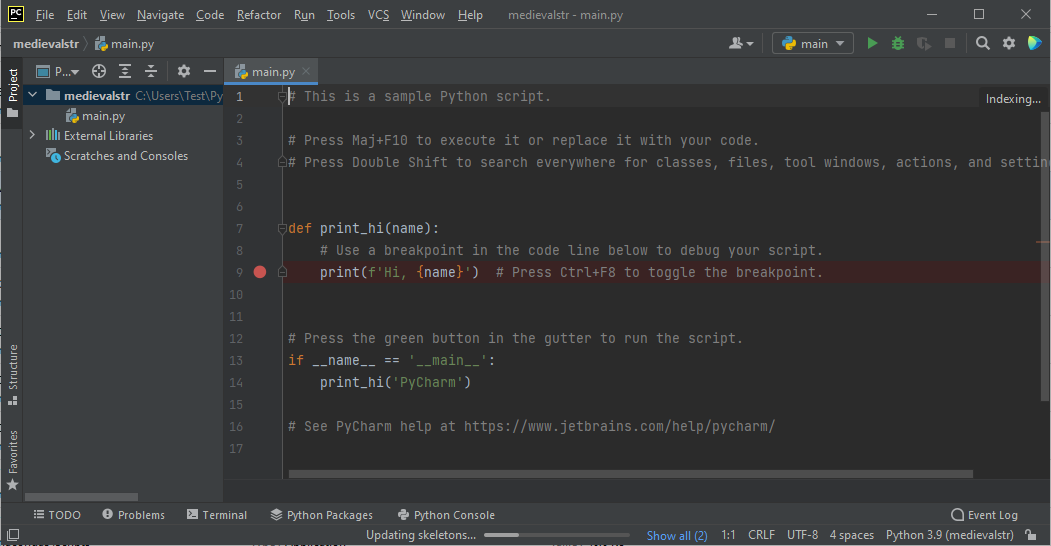
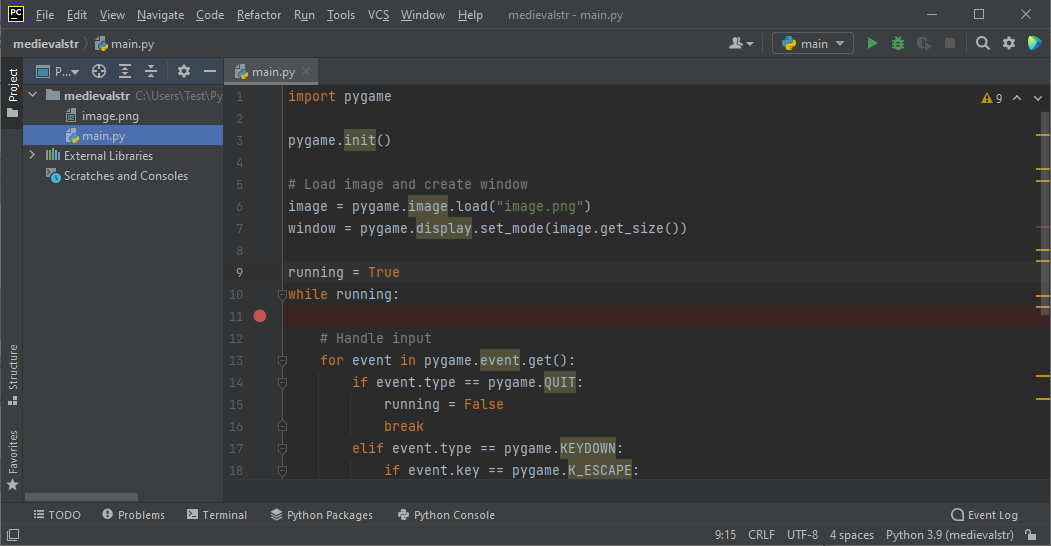
Click the Create button. It shows the main Pycharm window:
Set the Conda environment in Pycharm
Click the File / Settings menu button. In the dialog that appears, Select Python Interpreter in Project: section on the left. It shows the current interpreter for the current project (nothing in this example):
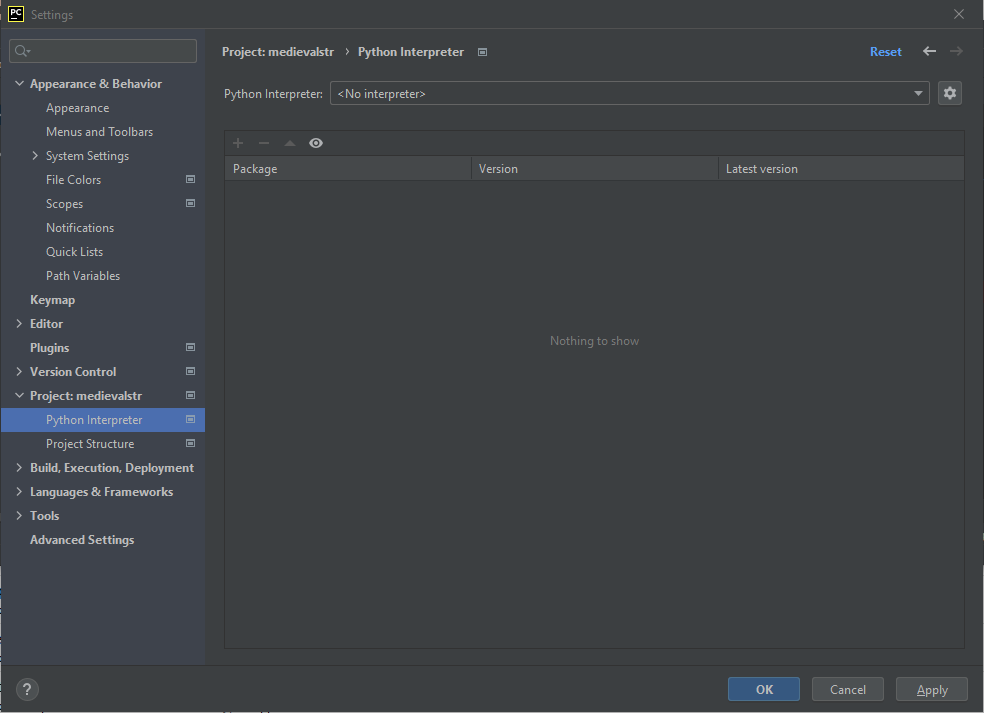
Click the wheel button on the right of Python Interpreter, and Select Add.... The following dialog appears:
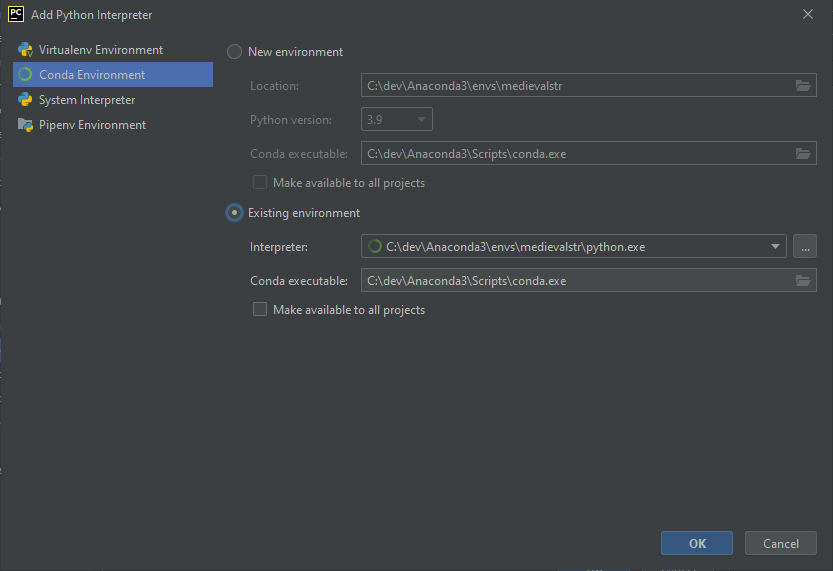
Select Conda Environment on the left, then select Existing environment. In the Intepreter field, select the one we created previously. In this example, it is "C:\dev\Anaconda3\envs\medievalstr\python.exe" because:
- Anaconda installation directory is "C:\dev\Anaconda3";
- Anaconda environment are in the "envs" directory;
- The name of our environment is "medialstr";
- "python.exe" is the Python interpreter of our environment.
Click the OK button. You should see the list of packages in our environment:
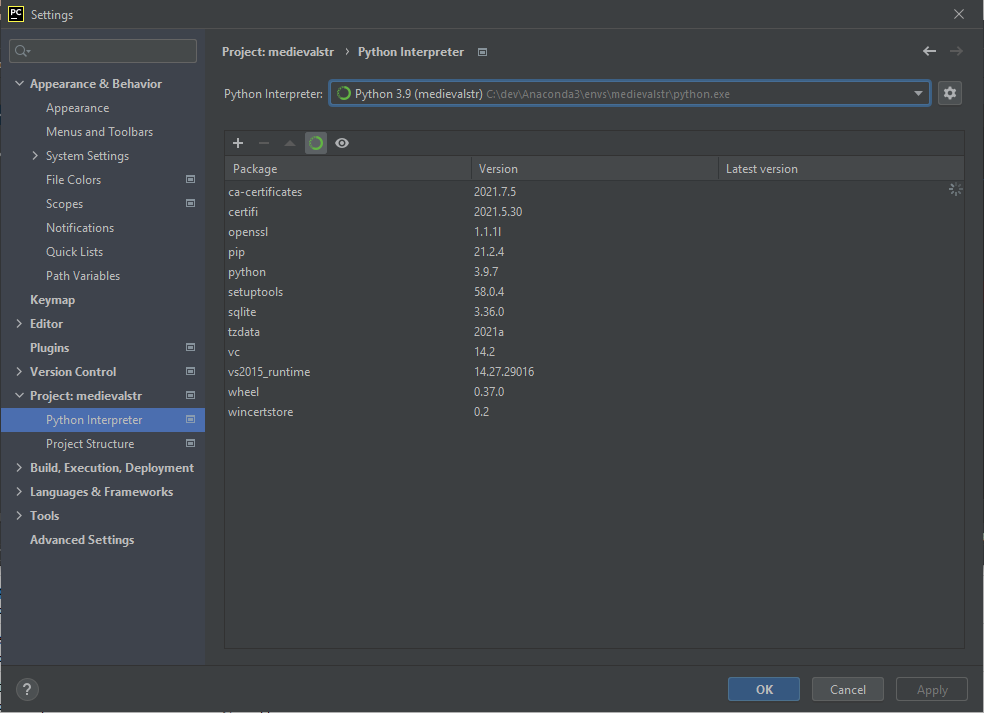
To install a new Conda package, you can use the "+" button. Unfortunately, it does not work for pip packages like Pygame.
Install Pygame
Open an Anaconda Prompt from the start menu, then activate our environment:
conda activate medievalstrInstall pygame version 2.0.1 with pip:
pip install pygame==2.0.1First program
Create the program
Replace the content of the "main.py" file created by Pycharm with the following content:
import pygame

pygame.init()

# Load image and create window
image = pygame.image.load("image.png")
window = pygame.display.set_mode(image.get_size())

running = True
while running:

    # Handle input
    for event in pygame.event.get():
        if event.type == pygame.QUIT:
            running = False
            break
        elif event.type == pygame.KEYDOWN:
            if event.key == pygame.K_ESCAPE:
                running = False
                break

    # Render
    window.blit(image, (0, 0))
    pygame.display.update()

pygame.quit()
Line 3 initializes Pygame.
Line 6 loads an image from "image.png". Put an image file with this name in the same directory than "main.py" or change the file path. You can download this image file for example.
Line 7 creates a window with the same size than the image.
Lines 9-24 is the game loop, with two steps from the Game Loop pattern: input handling and rendering.
Line 9 creates the running variable that will stop the game loop once set to False.
Lines 13-20 parses Pygame events. We consider two event types: pygame.QUIT and pygame.KEYDOWN. Pygame emits the first event type when the user clicks the close button or hits Alt+F4. Pygame emits the second event type when the user presses a key. We only consider the escape key. In all cases, we set the running variable to False and stops the event analysis (the break keyword stops the for loop).
Line 23 draws the image in the window.
Line 24 renders the window on screen.
Run the program in Pycharm
Right-click the "main.py" file in the project explorer:
Then, Select "Run main.py".
In the next post, we see show how to scale the game scene to the window size.