
Discover Python and Patterns (28): Installer
We got a complete game, but we need a specific Python environment to run it. In this post, I show how to create a standalone executable and an installer!
This post is part of the Discover Python and Patterns series
Standalone executable
We can embed the Python environment and our source code in a single executable file, thanks to PyInstaller. I show here for Windows, but it works the same for Linux and macOS.
Python environment
First of all, it is better to create a specific python environment for our game. Even if PyInstaller claims to only embed the required packages in the executable, in my experiments, it was never the case. With my base environment (with a lot of packages), the executable was 200 MB, and with a specific one for our tank game, 8 MB!
Launch an Anaconda prompt (If you didn't install Anaconda, please see the first post on how to install it). Assuming that the current directory is C:\dev, you will see the following prompt:
(base) C:\dev>The first item (base) is the name of the current environment. The default one is base. The second item is the current directory, and the last symbol > is the command prompt.
If you type the following command, you will see all the packages in the base environment:
(base) C:\dev>conda listIn the default Anaconda installation, there is a lot of them!
Create a new environment:
Type the following to create a new environment named tankgame with Python 3.6.10:
(base) C:\dev>conda create --name tankgame python=3.6.10Note that I specify the exact version of Python. You should do the same for all packages. Packages are regularly updated, and sometimes they are no more compatible with the other packages you need. In most cases, you solve it with newer versions of other packages. In some cases, other package updates are not ready yet, and it is impossible to build a working combination.
Anyway, don't try to use newer versions if you don't need it. Select a specific version for each package and keep them until the day an update is required. It will save you from unnecessary issues!!
For instance, let's imagine that your game needs an urgent patch. You patch your code and run the packaging procedure. And, bad luck, one of the packages is updated and is no more compatible with the others. You're good for an update of all the other packages, and maybe your code because some features are deprecated. And trust me, you don't need that when your users wait for a patch!!
Activate the new environment
We can activate the tankgame environment with the following command:
(base) C:\dev> conda activate tankgameThe prompt becomes:
(tankgame) C:\dev>If you type the following command, you will see the current packages in this environment:
(tankgame) C:\dev>conda listIn my case, I got the following:
# packages in environment at C:\dev\Anaconda3\envs\tankgame:
#
# Name                    Version                   Build  Channel
certifi                   2020.4.5.1               py36_0
pip                       20.0.2                   py36_3
python                    3.6.10               h9f7ef89_2
setuptools                46.2.0                   py36_0
sqlite                    3.31.1               h2a8f88b_1
vc                        14.1                 h0510ff6_4
vs2015_runtime            14.16.27012          hf0eaf9b_1
wheel                     0.34.2                   py36_0
wincertstore              0.2              py36h7fe50ca_0
zlib                      1.2.11               h62dcd97_4
As you can see, there are far fewer packages than in the base one.
You should be paranoid about package versions. When you select a specific version for Python, Anaconda should always choose the same dependencies or any fully compatible combination. But I won't bet on it. To be safe, you should save this output in some safe place, just in case.
If you have any issue in the following sections, come back here and correct versions using this command:
(tankgame) C:\dev>conda install pip==20.0.2The argument pip==20.0.2 means that we want to install or update the pip package to version 20.0.2.
Install packages
We can install our game dependencies using the following command:
(tankgame) C:\dev> pip install pygame==1.9.6 tmx==1.10 six==1.14.0Note that I specify the exact version for each package for the same reasons as before.
Pygame is the library for graphics, tmx is the one for reading Tiled files, and six is a dependency of tmx (I guess that the authors forgot to add it in their dependencies list, so we have to add it manually).
For those who ask why I use pip rather than conda to install these packages, I don't have a short answer! I'll need more than a post to explain it, and it is not the topic of this one. In general, try to install packages with pip, and if it does not work, use conda.
We also need to install Pyinstaller to create the executable:
(tankgame) C:\dev> pip install pyinstaller==3.6 setuptools==44.0.0I downgrade setuptools to 44.0.0 because Pyinstaller 3.6 is not compatible with higher versions of setuptools. Welcome to the wonderful world of packages version management :)
Build the executable
First, go to the folder that contains the Python code and the assets. In this example, it is C:\dev\TankGame:
(tankgame) C:\dev>cd C:\dev\TankGameThe prompt becomes:
(tankgame) C:\dev\TankGame>Run the following command to create the executable:
(tankgame) C:\dev\TankGame> pyinstaller -F --icon=tankgame.ico tankgame.pyThe -F argument means that we want a single executable that embeds everything. Without this argument, there is a lot of files, which are not easy to manage. The first drawback of a single executable is that you must update all the content for each patch. It is not a problem for our tank game and its 8 MB. For bigger cases, it can lead to large patches. The second drawback is that it is more difficult for your player to correct or mod your game.
The --icon=tankgame.ico defines an icon for the executable (and the one shown in the Windows menu and desktop). It is not mandatory. You can find many ICO files creators and converters on the Internet.
Pyinstaller creates a tankgame.spec that contains all the options you selected, to repeat the building with precisely the same setup. It also makes a build directory with temporary data and a dist directory that contains the executable.
Copy or move the executable in the directory that contains the assets, double-click on it, and it should work!
Create the installer
I selected Inno Setup to create the Windows installer. It is free software you can use to donate or sell your game. You can download it here: https://jrsoftware.org/isdl.php#stable.
Create the script file
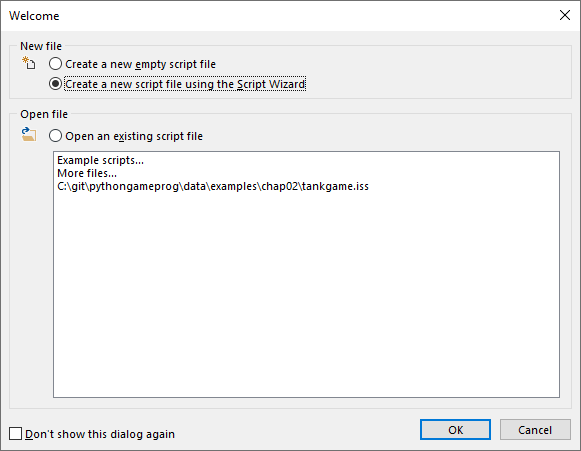
Create a new script file using the Script Wizard (you can also open it with the File / New menu):
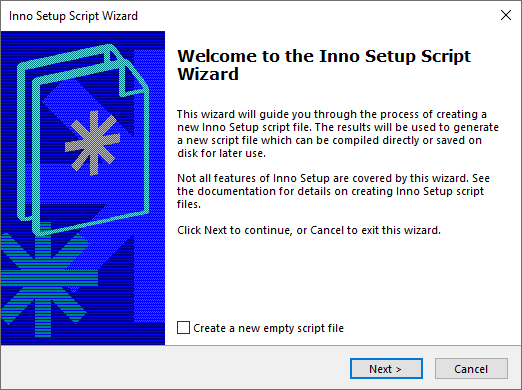
The wizard starts, click Next:
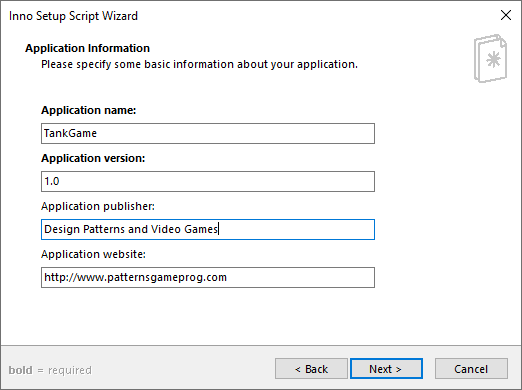
Enter your application name, version, publisher, and website:
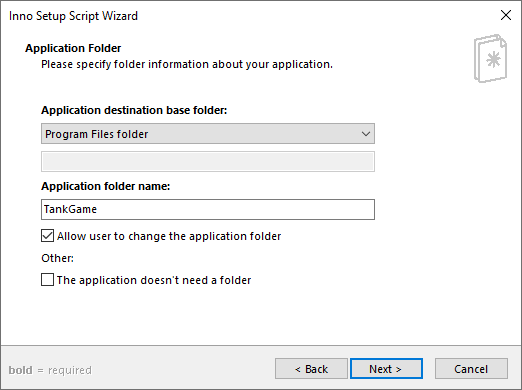
Change the installation folder if you want:
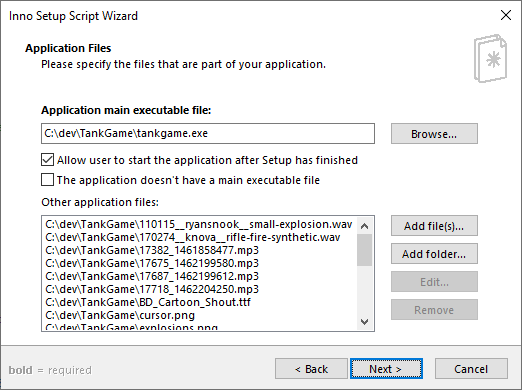
Select the game executable, and add the assets:
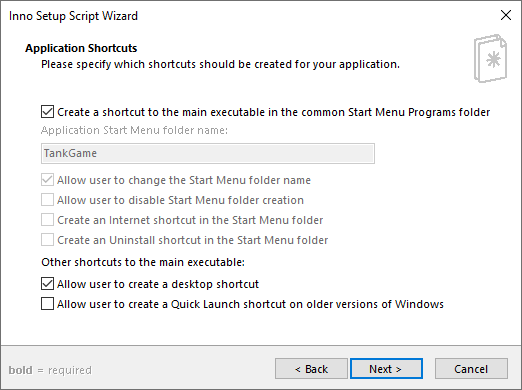
Choose the shortcuts to create:
Select at least a license file:
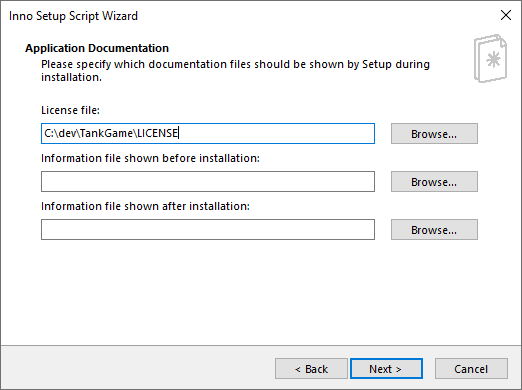
Always choose a license to protect your IP. If you don't plan to make money with your game, choose the MIT or BSD license.
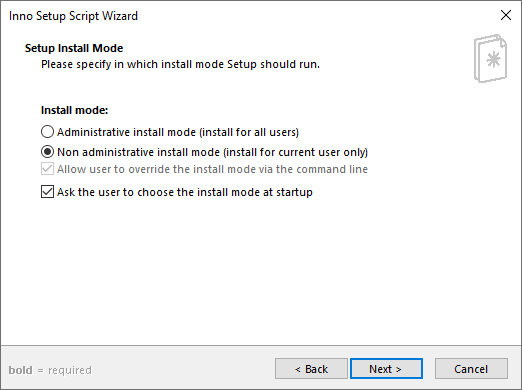
Select install mode:
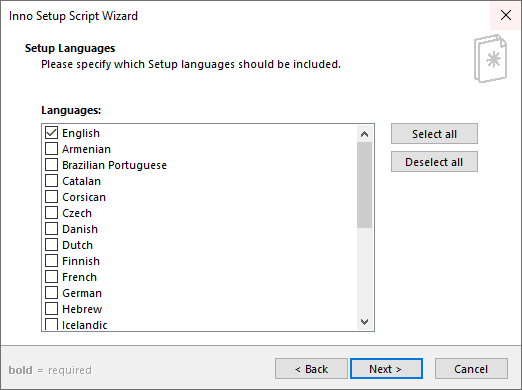
Select the languages:
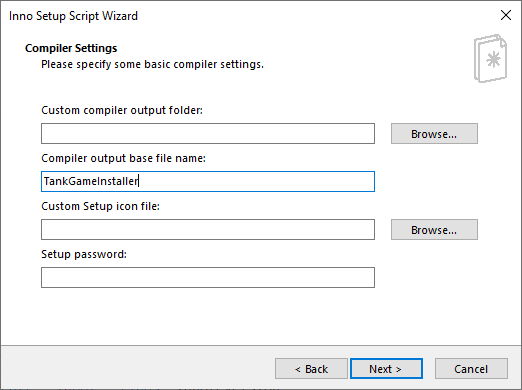
In this step, you can choose the folder and the name of the installer. You can also choose an icon and a password for the installer (NB: not for the game). All these parameters are optional:
Preprocessor: leave the default values:
Click Finish:
Test the compiler script
Once we finish the wizard, the script appears in the main Inno Setup window. You should save it so that you can rebuild the installer later.
Click on the Run icon:
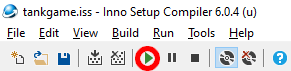
It compiles and runs the installer. Follow the installer, and check that the game is well installed. Run the game, and hopefully, everything is fine. Otherwise, you have to correct the script.
Maybe you forgot an asset, in which case you should fix the [Files] section of the script. Later, if there are new assets, you can add a line in this section. Copy and paste one existing line and change the file name.
If you need to test a new installer, you must first uninstall the current game. You can run the installer in an "uninstall" mode by clicking the Target Uninstall icon:
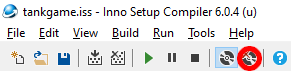
Click on the Run icon, as before, follow the installer to delete the game.
Don't forget to switch back to "install" mode by clicking the Target Setup icon.
Get the installer
Click on the Build / Open Output Folder to open the directory that contains the installer.
In the next post, I will conclude this series.